
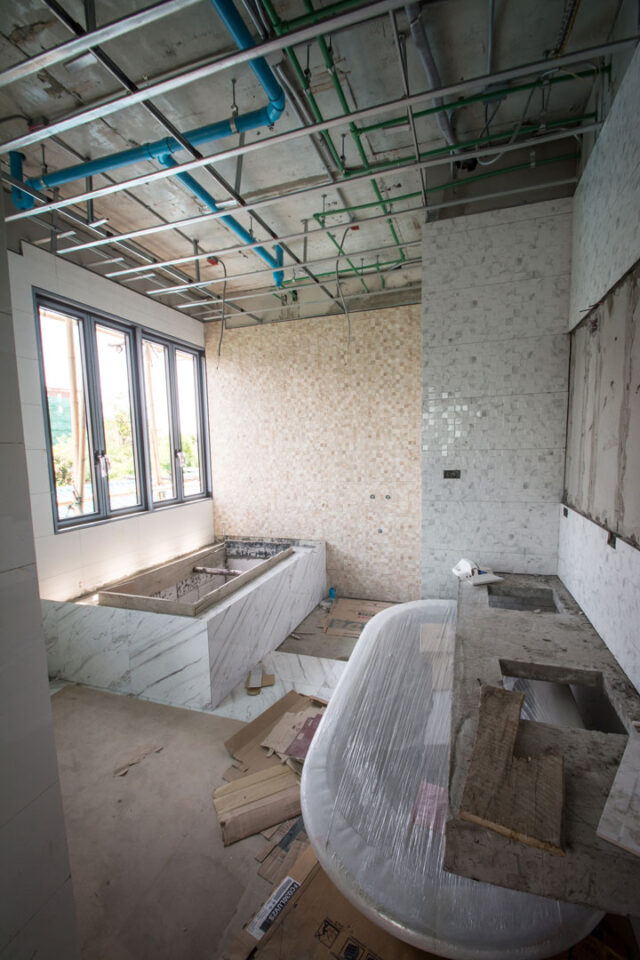
Are you ready to rip out that old bathroom and make way for something fresh and modern? Demolishing a bathroom might sound like swinging sledgehammers at everything in sight, but there’s a lot more to it.
This guide will take you through each step, ensuring your bathroom demolition is safe, efficient, and stress-free.
Understanding Bathroom Demolition
Bathroom demolition is the foundation of any successful bathroom renovation. Understanding the process is key to a smooth and efficient project. Let’s dive into the basics.
What Is Bathroom Demolition?
Bathroom demolition is the process of removing existing fixtures, tiles, walls, and other components to prepare the space for renovation.
Whether you’re refreshing the design or tackling major plumbing upgrades, proper demolition is the first crucial step in your journey.
When Do You Need Bathroom Demolition?
You may need demolition if your bathroom is outdated, showing wear and tear, or if structural changes are planned.
Issues like water damage or mould can also make demolition necessary. It’s the blank canvas you need for a fresh start.
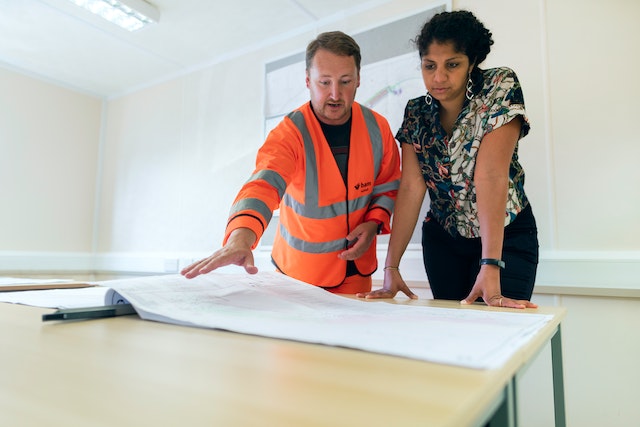
DIY vs. Professional Bathroom Demolition
While DIY demolition can save money, it requires knowledge, time, and tools.
Professionals bring experience and efficiency, especially in handling plumbing and electrical systems. Weigh your comfort level and the project complexity before deciding.
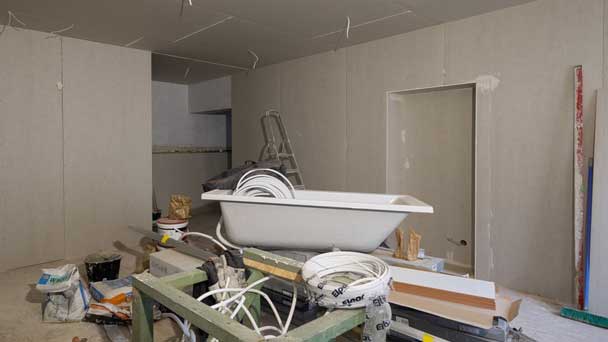
Planning and Preparation
Preparation is everything when it comes to bathroom demolition. Without a plan, you’re inviting chaos. Here’s how to prepare for success.
Assessing the Scope of Demolition
Before you begin, take a hard look at what needs to be removed. Is it just the fixtures and tiles, or will you be tearing down the walls? Map out the demolition area to avoid unnecessary damage and surprises.
Gathering Necessary Tools and Equipment
Demolition is much smoother when you’re armed with the right tools. Grab essentials like a sledgehammer, pry bar, utility knife, and safety gear.
Renting tools for larger tasks might also be a wise choice.
Setting a Budget for Your Bathroom Demolition
Budgeting isn’t glamorous, but it’s vital. Factor in tool rentals, waste disposal, and potential surprises like hidden water damage. A clear budget helps you avoid financial hiccups mid-project.
Understanding Local Regulations and Permits
Depending on your location, permits may be required for bathroom demolition. Check with your local council to stay compliant and avoid fines. Regulations often cover electrical and plumbing work.
Hiring Skip Bins for Waste Disposal
Demolition generates a surprising amount of debris. Hiring a skip bin ensures the mess doesn’t pile up in your driveway. Choose a size that suits your project to save time and effort.
Safety Precautions
Safety should always come first during bathroom demolition. Protect yourself, your home, and your future renovation by following these critical precautions.
Turning Off Utilities: Water, Electricity, and Gas
This is non-negotiable. Before swinging any tools, turn off the water supply, electricity, and gas to avoid accidents. Double-check valves and switches to ensure everything is safely disconnected.
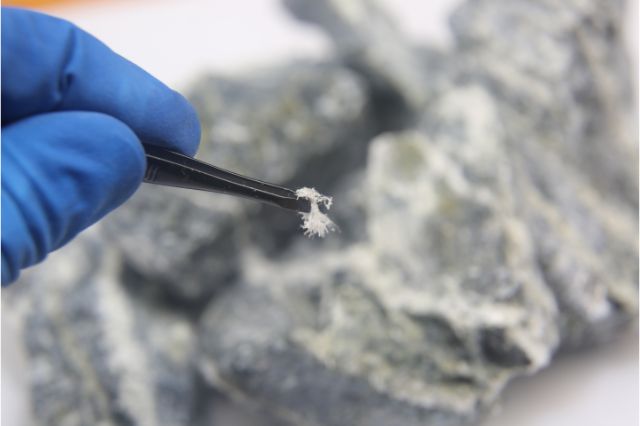
Identifying and Avoiding Asbestos
Older homes may have asbestos lurking in walls, ceilings, or tiles. Hire a professional to inspect and remove it if necessary. Never attempt to handle asbestos on your own – it’s a health hazard.
Using the Right Safety Gear
Don’t skimp on safety gear. Gloves, goggles, steel-toed boots, and a dust mask are your best friends during demolition. Trust us, you’ll be glad for the extra layer of protection.
Protecting Adjacent Areas and Surfaces
Dust and debris can creep into every corner of your home. Use plastic sheeting and painter’s tape to seal off doorways and cover furniture. Your vacuum will thank you later.
Step-by-Step Bathroom Demolition Guide
This step-by-step guide will walk you through the bathroom demolition process. Follow along to keep your project on track and hassle-free.
Step 1: Removing Fixtures and Fittings
Start with the small stuff: towel racks, mirrors, and light fixtures. Unscrew and detach everything carefully to avoid unnecessary damage.
Step 2: Taking Down Cabinets and Shelves
Empty all cabinets and remove shelves. Loosen screws or brackets holding them in place, then gently pry them off the walls.
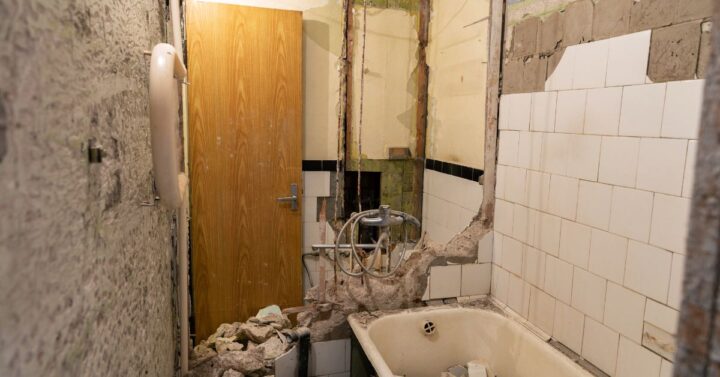
Step 3: Removing Tiles From Walls and Floors
Tiles can be stubborn. Use a hammer and chisel to remove them, starting from a corner. Work slowly to avoid damaging the underlying surface if it’s being reused.
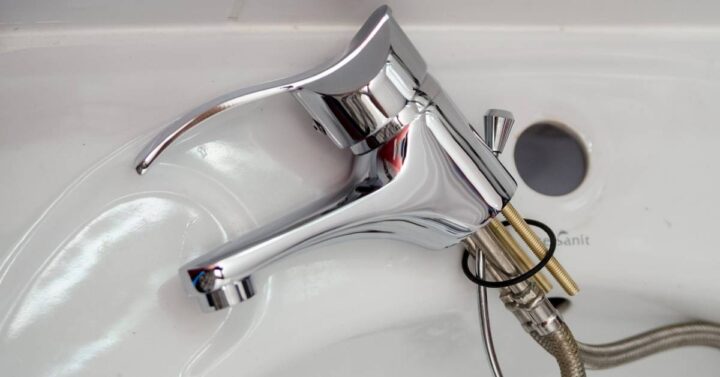
Step 4: Disconnecting and Removing Plumbing Fixtures
Detach the toilet, sink, and bathtub. Follow manufacturer’s instructions or consult a plumber for tricky disconnections. Drain all water to prevent leaks.
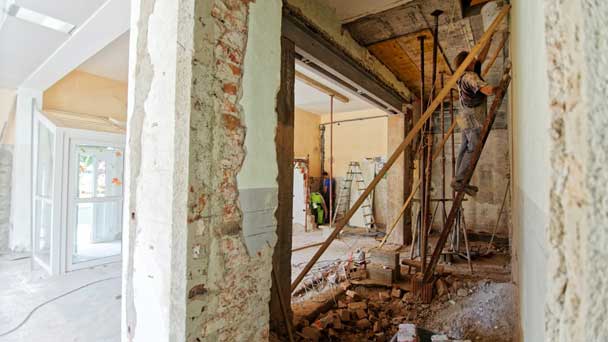
Step 5: Handling Structural Demolition
If walls need to go, confirm they’re not load-bearing. Use a reciprocating saw to cut through drywall and carefully remove studs if needed.
Step 6: Cleaning Up and Disposing of Debris
Sweep up debris regularly to keep the workspace clear. Load waste into skip bins or arrange for a waste removal service. A clean site is a safe site.
Challenges and How to Overcome Them
Demolition often comes with unexpected challenges. Being prepared can make all the difference.
Dealing with Hidden Pipes and Wires
Unexpected pipes or wires can halt progress. Use a stud finder with a wire detection feature or consult professionals to navigate these issues safely.
Managing Mold or Water Damage
If you find mould, stop immediately. Mould remediation requires specific techniques and safety measures. Don’t take risks with your health.
Handling Unforeseen Structural Issues
Sometimes you uncover rotten wood or crumbling drywall. Address these problems before moving forward to avoid compromising the renovation.
Post-Demolition Steps
After the dust settles, there are important steps to take before your renovation begins.
Inspecting the Site for Issues
Once the demolition is complete, check for lingering issues like water leaks, damaged wiring, or uneven surfaces. Fixing these now saves time later.
Preparing for Renovation
With a blank slate, measure and plan for new fixtures. Sketch out the layout and confirm the materials needed for your dream bathroom.
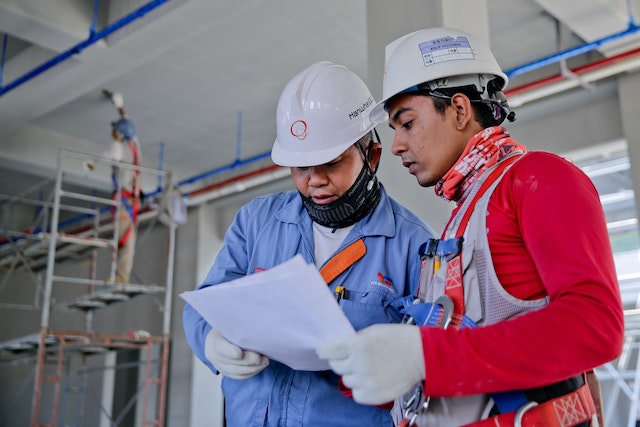
Hiring Professionals for Specialized Work
Tasks like plumbing and electrical installations are best left to the pros. It’s worth the investment for safety and quality.
Common Mistakes to Avoid
Avoiding these common pitfalls can save you time, money, and headaches.
Not Turning Off Utilities
Skipping this step can result in leaks, shocks, or worse. Always prioritise safety over speed.
Skipping Safety Precautions
Neglecting gloves or goggles might seem minor until you get hurt. Safety measures are non-negotiable.
Using the Wrong Tools
Improvising with unsuitable tools leads to frustration and potential damage. Stick to what’s recommended.
Improper Waste Disposal
Dumping debris improperly can result in fines. Use licensed services or council-approved methods.
Tips for a Successful Bathroom Demolition
A few handy tips can make your bathroom demolition project a breeze.
Creating a Detailed Demolition Plan
Plan each step of your demolition. Having a clear roadmap saves time and headaches.
Involving Experts When Necessary
Don’t hesitate to call in professionals for specialised tasks. It’s a smart move, not a failure.
Staying Organised and Methodical
Work systematically to avoid missing anything. Checklists can be a lifesaver.
Frequently Asked Questions About Bathroom Demolition
Here are answers to some common questions that might be on your mind as you plan your project.
How Long Does a Bathroom Demolition Take?
For a standard bathroom, demolition can take 1-3 days. Larger or more complex jobs might take longer.
Can I Demolish My Bathroom on My Own?
Yes, if you’re confident and prepared. However, larger projects or those involving hazardous materials are better left to professionals.
What Are the Costs Involved?
Costs vary depending on the scope of work, but DIY projects can start around $500, while professional services may cost $2,000 or more.
What Should I Do If I Encounter Asbestos?
Stop work immediately and contact licensed asbestos removalists. It’s a health risk you should never handle alone.
Conclusion
Demolishing your bathroom is the first step toward creating a fresh, updated space. With the right tools, safety measures, and planning, you’ll be well on your way to a successful renovation.
Key Takeaways for a Safe and Efficient Bathroom Demolition
Preparation, safety, and patience are key. Take your time and follow these steps for a successful demolition.
Preparing for Your New Bathroom Space
With the old bathroom gone, the exciting part begins. Plan your dream space and enjoy the transformation!


