Bathroom waterproofing is the unsung hero of a successful renovation. Without it, water damage can wreak havoc, turning your dream bathroom into a nightmare.
This guide dives deep into everything you need to know about waterproofing, from must-follow steps to common pitfalls.
Why Is Bathroom Waterproofing Essential?
Waterproofing is the foundation of a bathroom that lasts. It protects against water seeping into places it shouldn’t, ensuring your bathroom stays pristine for years to come. Let’s break it down.
Preventing Water Damage
Imagine water quietly infiltrating your walls and floors. Over time, this can cause rotting, swelling, and even structural damage. Waterproofing stops this process in its tracks, safeguarding your investment.
Avoiding Mould and Mildew Growth
Bathrooms are naturally humid spaces. Without proper waterproofing, moisture becomes a breeding ground for mould and mildew, turning your haven into a health hazard.
Ensuring Structural Integrity
When water penetrates building materials, it compromises their strength. Proper waterproofing acts as a shield, preserving the integrity of your walls, floors, and ceilings.
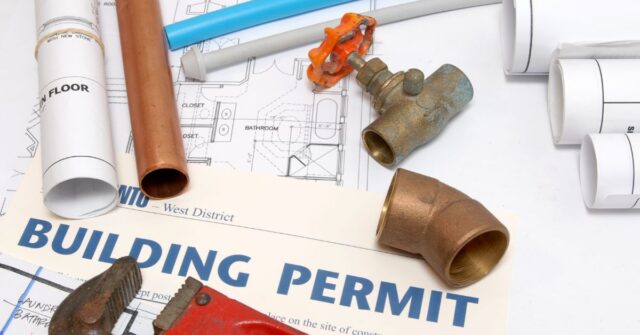
Understanding Australian Waterproofing Standards
Australia has strict regulations to protect homeowners. These standards outline the best practices for waterproofing, ensuring safety and durability.
Compliance With AS 3740-2021
AS 3740-2021 specifies the requirements for waterproofing wet areas in residential buildings. Adhering to these guidelines is not just good practice – it’s the law.
Key Requirements for Residential Bathrooms
Some of the essentials include waterproofing the entire shower area and at least 150mm up the walls. Proper slope towards drainage is also crucial to prevent pooling water.
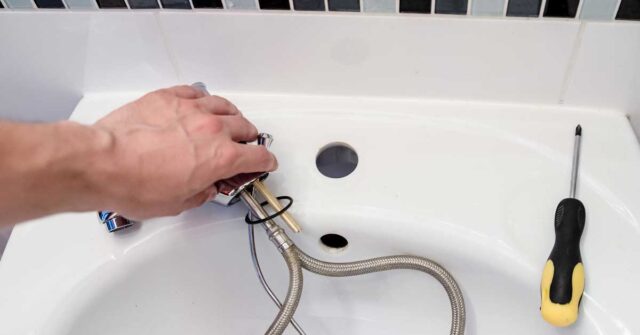
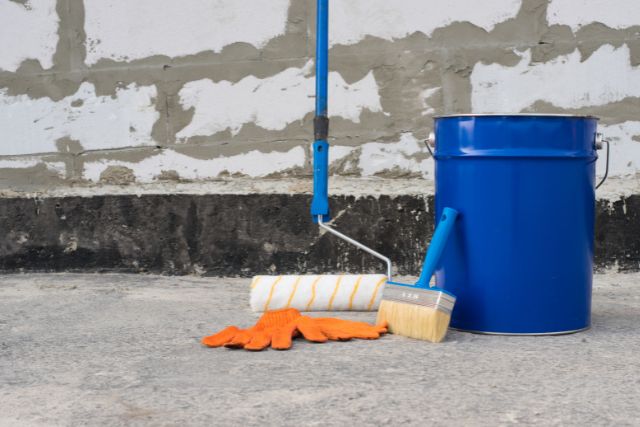
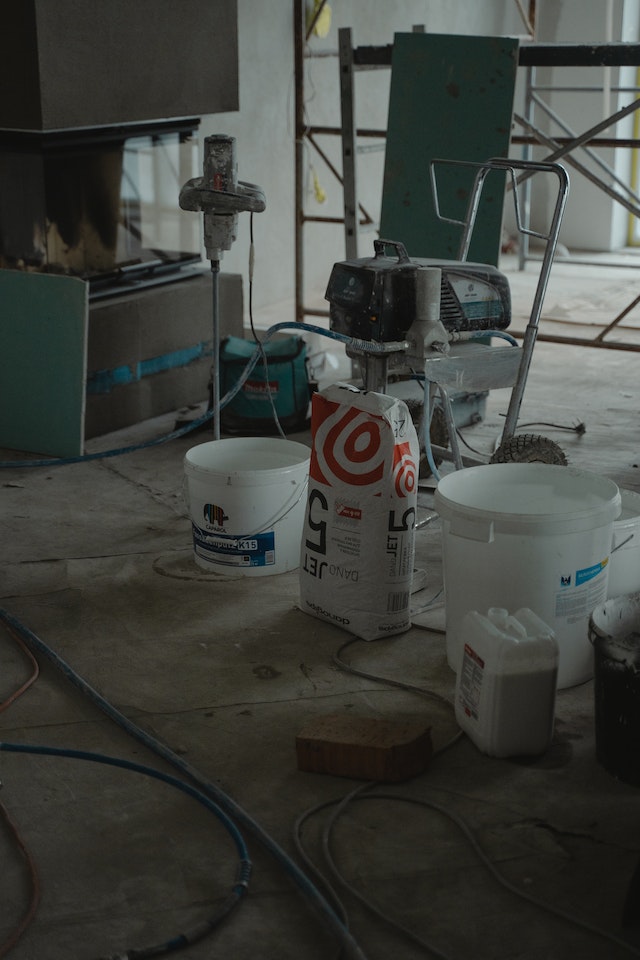
Tools and Materials Needed for Bathroom Waterproofing
Whether you’re a DIY enthusiast or hiring a professional, the right tools and materials are non-negotiable. Here’s a handy checklist.
Essential Tools for DIY Projects
You’ll need brushes, rollers, a primer, a membrane applicator, and a utility knife. A spirit level ensures surfaces are even, while masking tape keeps lines clean.
Types of Waterproof Membranes
The choice of membrane can make or break the waterproofing process. Here are your options:
Sheet Membranes
These pre-formed sheets are easy to install and offer consistent thickness. They’re great for areas requiring precise application.
Liquid Membranes
Applied like paint, liquid membranes conform to every nook and cranny. They’re ideal for irregularly shaped surfaces.
Choosing the Right Sealants and Primers
Sealants and primers play a pivotal role in adhesion and durability. Always pick products rated for bathroom use to avoid headaches down the line.
Step-By-Step Guide to Waterproofing Your Bathroom
Now, let’s roll up our sleeves. Here’s how to waterproof your bathroom from start to finish.
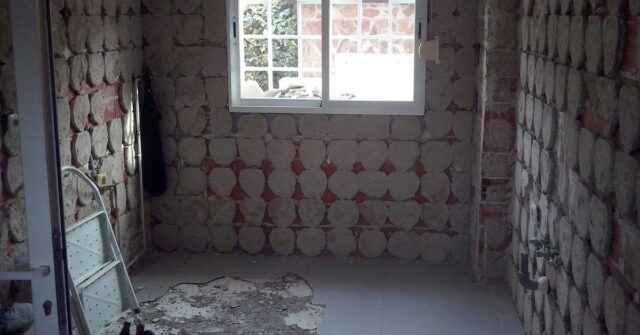
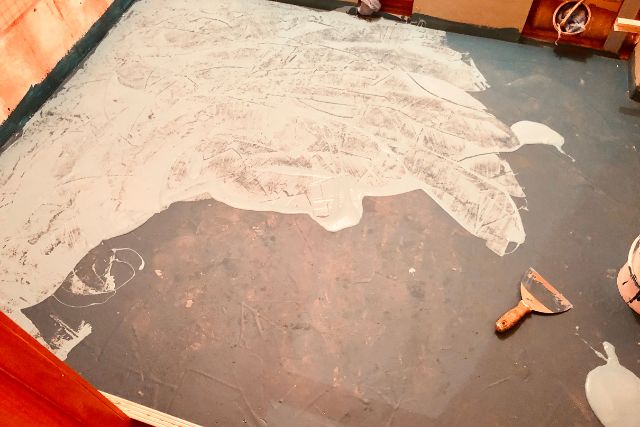
Step 1: Preparing the Bathroom Surface
A clean slate is crucial. Scrape off old paint or debris, repair cracks, and sand rough areas to create a smooth surface for the membrane.
Cleaning and Repairing Surfaces
Remove dirt, dust, and loose particles. Fill any gaps or cracks with filler to prevent weak spots.
Ensuring Proper Slope for Drainage
Check that the floor slopes towards the drain. A level surface can cause water to pool, undermining your efforts.
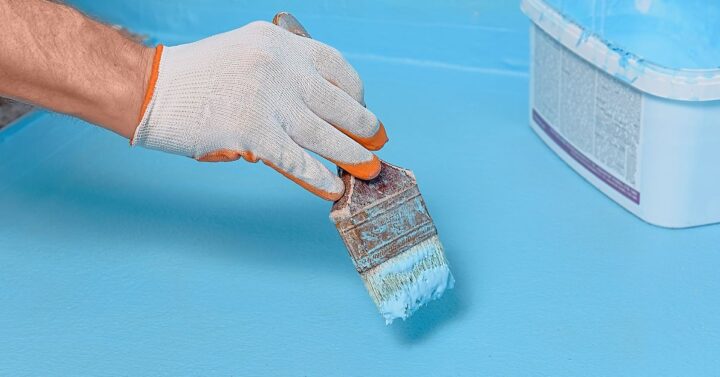
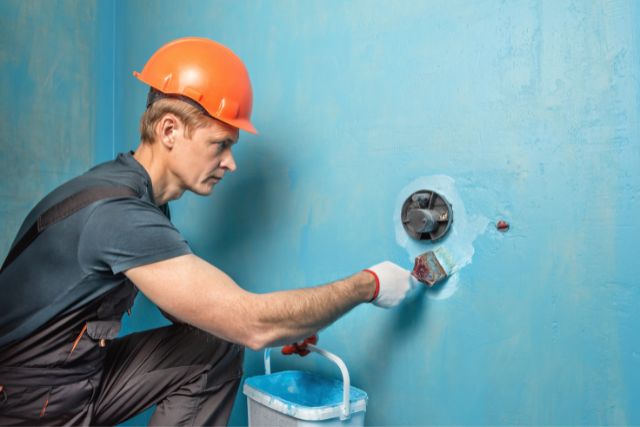
Step 2: Applying the Primer
Priming ensures the membrane adheres properly. Apply a generous coat and let it dry completely before moving on.
Why Priming Is Critical
Think of primer as the double-sided tape of waterproofing. It bonds the membrane to the surface, ensuring long-lasting results.
Tips for Even Application
Use a roller for large areas and a brush for corners. Work methodically to avoid missing spots.
Step 3: Installing Bond Breakers and Reinforcement
Bond breakers prevent the membrane from stretching or tearing at joints and corners, where movement often occurs.
Why Bond Breakers Matter
Without bond breakers, membranes can fail at stress points, leading to leaks.
Where to Apply Bond Breakers
Focus on junctions between walls and floors, as well as around fixtures like drains.
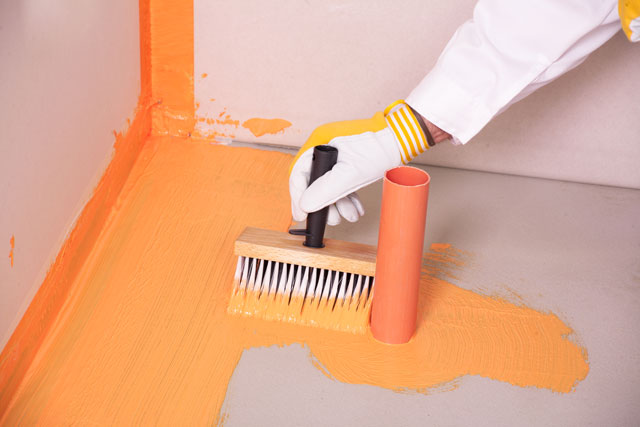
Step 4: Applying the Waterproof Membrane
Here’s where the magic happens. Apply the membrane in layers, allowing each coat to dry before adding the next.
Number of Coats and Curing Time
Two to three coats are standard. Follow the manufacturer’s instructions for curing times to avoid premature failure.
Ensuring Coverage in Critical Areas
Pay extra attention to corners, seams, and around fixtures. These areas are most prone to leaks.
Step 5: Sealing and Finishing Touches
Once the membrane is applied, seal joints and edges with silicone. Test the waterproofing before proceeding with tiling.
Sealing Joints and Corners
Use a quality silicone sealant for a watertight finish. Smooth it out for a neat appearance.
Testing the Waterproofing
Flood the area with water and observe for leaks. This step ensures your work is watertight before moving forward.
Common Bathroom Waterproofing Mistakes to Avoid
Even seasoned renovators can slip up. Here are common mistakes and how to dodge them.
Skipping Surface Preparation
Starting on an unclean or uneven surface is a recipe for disaster. Take your time with prep work.
Using Incompatible Materials
Not all products play well together. Stick to materials recommended by the membrane manufacturer.
Insufficient Membrane Application
Applying too few coats or spreading the membrane too thinly can lead to weak spots. Follow the guidelines in the letter.
Ignoring High-Risk Areas
Neglecting corners and joints can undo all your hard work. These spots require extra attention.
Pro Tips for Effective Bathroom Waterproofing
Want to go above and beyond? These expert tips will set you up for success.
Double-Check Waterproofing Thickness
Use a thickness gauge to verify that the membrane meets the recommended depth.
Focus on Joints and Corners
These areas are the most vulnerable. Spend extra time ensuring they’re fully covered and sealed.
Consult Professionals for Complex Areas
If you’re unsure about any step, bring in a pro. It’s better to invest in expertise than risk costly mistakes.
Maintaining Waterproofed Bathrooms
Even the best waterproofing requires upkeep. Here’s how to keep your bathroom in top shape.
Regular Inspections for Leaks
Check for damp spots or discolouration. Catching issues early can save you a lot of hassle.
Tips for Proper Cleaning and Maintenance
Avoid harsh chemicals that can degrade the membrane. Stick to mild cleaners and soft cloths.
When to Reapply Waterproofing
If you notice cracks or wear, it’s time for a touch-up. Regular maintenance prolongs the life of your waterproofing.
DIY vs. Professional Bathroom Waterproofing
Should you tackle waterproofing yourself or call in the pros? Here’s how to decide.
When DIY Is a Viable Option
If you’re confident and the project is straightforward, DIY can save you money. Just follow the steps carefully.
Benefits of Hiring Professionals
Pros bring expertise and efficiency. They’re also familiar with compliance requirements, reducing the risk of issues down the road.
Cost Comparisons and Long-Term Value
While hiring a professional may cost more upfront, it often saves money in repairs and rework over time.
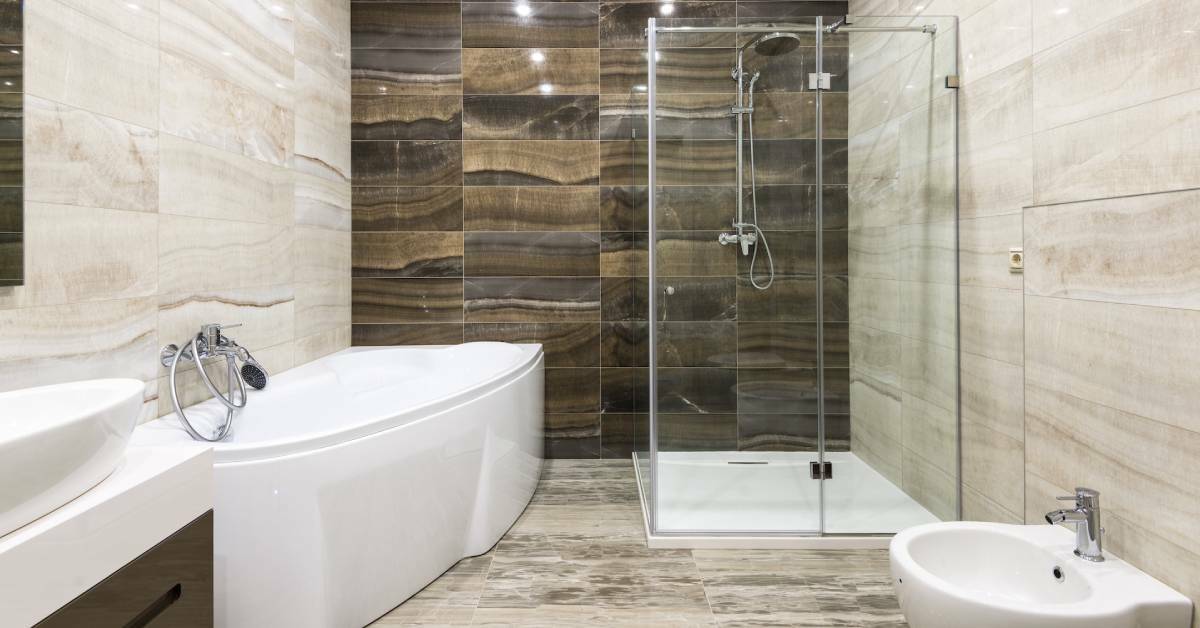
Conclusion: Protect Your Bathroom With Expert Waterproofing
Bathroom waterproofing isn’t glamorous, but it’s indispensable. By following these steps, you’ll create a bathroom that stands the test of time.
If in doubt, NuDesign Bathroom Renovations is just a call away for expert advice and services.