Protecting the grout in your home is crucial for maintaining both the appearance and integrity of your tiled areas.
In this comprehensive guide, we’ll walk you through the process of sealing grout effectively, ensuring that your home remains beautiful and well-maintained.
Introduction to Grout Sealing
Grout sealing is often overlooked in routine home maintenance, yet it plays a vital role in prolonging the life and appearance of tiled surfaces. Let’s delve into why it’s a task that deserves your attention.

Understanding the Importance of Grout Sealing
Grout is porous, meaning it absorbs moisture and can harbour mould and mildew. Sealing your grout not only prevents this but also extends its lifespan, keeping it clean and reducing staining.
Benefits of Sealing Your Grout
Sealing grout offers a barrier against moisture, stains, and bacterial growth.
It makes cleaning easier and maintains the fresh look of your tiles for years to come, a significant advantage in the Australian climate which can be harsh on building materials.
Before You Begin: What You’ll Need
Gathering the right tools and materials is the first step in the grout sealing process. Here’s what you’ll need to get started.
Tools and Materials Checklist
You will need a high-quality grout sealer, a clean sponge or brush, a cloth, gloves, and eye protection. Ensure the room is well-ventilated, especially in confined spaces like bathrooms.
Choosing the Right Grout Sealer for Australian Homes
With Australia’s unique climate conditions, selecting a sealer that offers UV protection and mould resistance is beneficial. Look for sealers designed for high humidity and temperature fluctuations.
Preparing Your Area for Sealing
Preparation is key. Before sealing, the grout must be clean and dry to ensure the sealer adheres properly.
Cleaning the Grout: Best Practices
Clean the grout using a pH-neutral cleaner to remove any dirt or grime. Avoid acidic cleaners that can erode grout. Allow the area to dry for at least 24 hours.
Pre-Sealing Assessment: Identifying Damage
Inspect the grout for any cracks or damage. If repairs are necessary, do so before sealing to ensure a smooth, uniform seal.
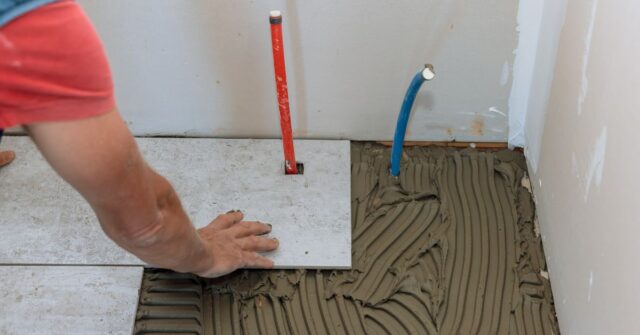
Step-by-Step Guide to Sealing Grout
Now that you’ve prepared your area, it’s time to apply the sealer with precision and care.
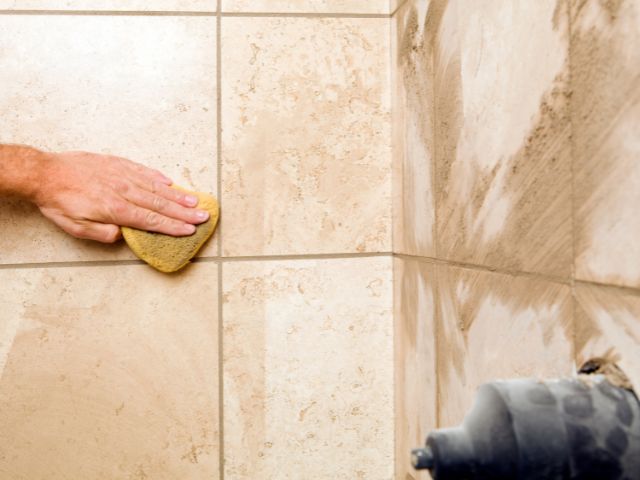
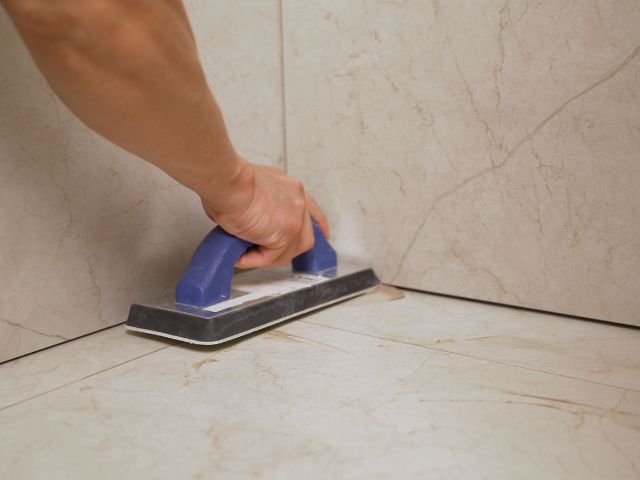
Step 1: Applying the Sealer
Apply the sealer to the grout lines using a sponge or brush. Work in small sections to ensure thorough coverage, and avoid getting sealer on the tile surface as much as possible.
Step 2: Wiping Excess and Ensuring Even Coverage
After application, immediately wipe off any excess sealer from the tile with a clean, dry cloth. This will prevent any hazing on the tile surface. Check for any missed spots and apply a second coat if necessary.
Step 3: Drying and Curing Time
Allow the sealer to dry according to the manufacturer’s instructions, usually around two hours. Avoid walking on the surface for 24 hours to let the sealer cure fully.
Aftercare: Maintaining Your Sealed Grout
With the grout now sealed, regular maintenance will keep it looking its best.
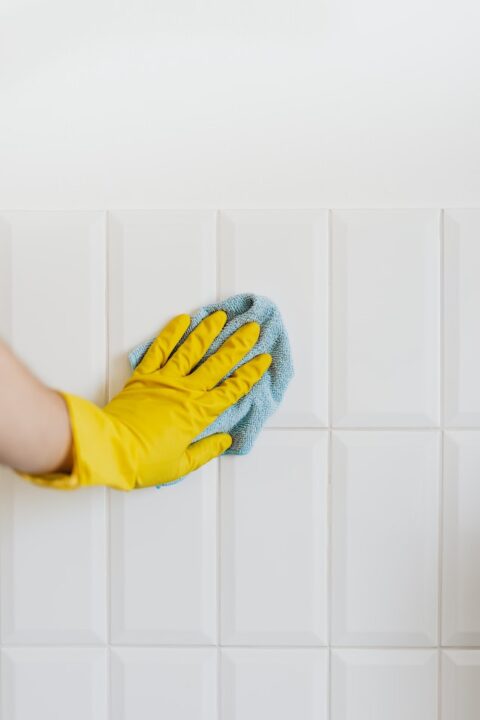
Regular Cleaning Tips
Clean your sealed grout with a pH-neutral cleaner regularly. Avoid harsh chemicals and scrubbing tools that can wear away the sealer over time.
When to Reapply the Sealer
Sealer longevity can vary, but it’s typically recommended to reseal grout every 12-24 months, especially in high-traffic areas or where high moisture is present.
Common Mistakes to Avoid When Sealing Grout
Grout sealing is straightforward, but common mistakes can affect the outcome. Here’s what to watch out for.
Top Missteps in Grout Sealing
Applying sealer to damp grout, not cleaning the grout properly before sealing, and using the wrong type of sealer are frequent errors that can compromise the seal’s effectiveness.
Troubleshooting Common Issues
If you notice uneven sealing or peeling after application, it may be necessary to strip the sealer and reapply it following the correct procedures.
Advanced Tips for Professional Results
For those seeking a flawless finish, these advanced tips will elevate your grout sealing project.
Techniques from the Pros
Professionals often use a sealer applicator tool for precise application and to avoid waste. They also recommend sealing grout twice for areas exposed to high levels of moisture or foot traffic.
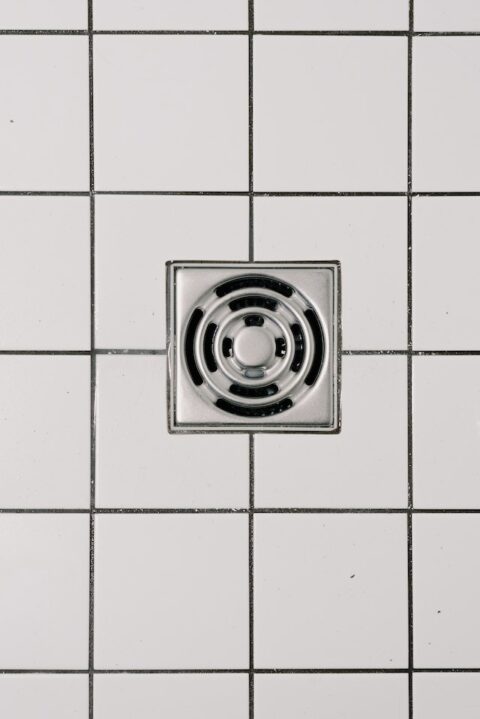
Sealing Grout in Challenging Environments
In areas with heavy water use, like showers, consider a penetrating sealer for better protection. For outdoor spaces, a sealer with added UV protection is ideal.
DIY or Professional? Making the Right Choice
While DIY grout sealing is achievable, sometimes calling in professionals is the best option.
When to Call in the Pros in Australia
If your grout is significantly damaged or if you have a large area to cover, professional services may be more efficient and provide longer-lasting results.
Cost Comparison: DIY vs. Professional Services
DIY grout sealing can be cost-effective, but consider the value of your time and the quality of the outcome. Professional services can be more costly upfront, but the results often last longer.
Conclusion: Protecting Your Home’s Integrity
Sealing your grout is an essential part of home maintenance that protects against wear and damage, ensuring your tiled surfaces remain pristine for years to come.
Long-Term Benefits of Proper Grout Sealing
With proper application and maintenance, sealed grout can enhance your home’s aesthetic and structural integrity, preventing costly repairs in the future.
Final Thoughts and Additional Resources
By following this guide, you’re well on your way to effectively sealing your grout. For more home maintenance tips and tricks, keep exploring our resources.