Bathroom Fixtures
Explore bathroom fixtures to transform your space with style, functionality and modern design options.

Your Home Deserves The Best Bathroom Fixtures
Bathroom fixtures are the functional backbone of any bathroom, forming the foundation of both utility and style.
From the sinks and toilets to showers and bathtubs, these elements determine how a bathroom operates daily.
Their importance goes beyond mere functionality; fixtures significantly influence the overall aesthetic and comfort of the space.
Whether you’re planning a complete renovation or just upgrading a few components, understanding bathroom fixtures is crucial for making informed decisions.
We Are Skilled Designers & Renovators

Feedback From Our Customers

We recently had our Bathroom/ Laundry renovation done by the team at NuDesign. From the first meeting with Monnia, we were delighted with the great design ideas and flexible approach…

NuDesign Bathroom Renovations team did an excellent job installing and re-tiling our new shower room. Very high quality craftsmanship with a real eye for detail. Very capable and very trustworthy….

I recommend NuDesign Bathroom Renovations as a returning customer. they helped me through the whole process of designing/ planing my bathroom and kitchen from … choosing materials that fit my…

My bathroom had been renovated only 6 years ago by another company and Carlos accepted to redo the shower section that was poorly done by the other company and had…

Carlos was amazing to work with for my bathroom renovation. It was my first time doing a reno and he was always there to answer questions and provide advice. He…

Carlos renovated our two apartment bathrooms – great quality workmanship, professional service and backed up by quality supporting trades. Highly recommended. Carlos stands by his work and is easy to…
What Are Bathroom Fixtures?
Bathroom fixtures refer to the permanently installed elements that are essential for a bathroom’s operation.
These include sinks, bathtubs, showers, and toilets. Unlike fittings, which can be replaced more easily, fixtures are often more integral to the structure of the bathroom.
They play a critical role in plumbing, water efficiency, and the overall user experience.
To illustrate, a sink is not just a basin; it’s a daily hub for grooming and hygiene. Similarly, toilets and showers are pivotal components, combining practicality with personal comfort.
When choosing fixtures, it’s vital to consider their durability, water efficiency, and compatibility with your bathroom’s design theme.
The Evolution of Bathroom Fixtures
Bathroom fixtures have come a long way from simple and utilitarian designs to modern masterpieces of technology and artistry.
In the past, fixtures were primarily functional, with little attention given to style. Today, they are as much about aesthetics as they are about functionality.
Historically, ceramic and cast iron dominated the scene. Over time, advancements introduced materials like acrylic, stainless steel, and composite stone, offering both durability and beauty.
The rise of smart technology has also revolutionised bathroom fixtures, integrating features like temperature control, water-saving mechanisms, and touchless operation.
Key Types of Fixtures
The core of any bathroom is its fixtures. Each type serves a unique purpose, and understanding their variations can help you make the right choice.

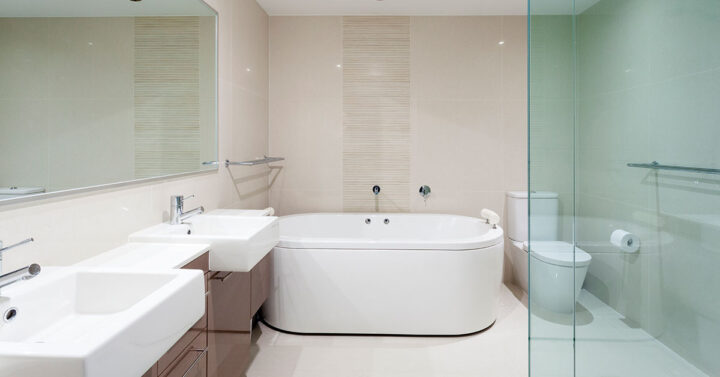
Sinks and Vanities: Styles and Sizes
Sinks and vanities are central to bathroom functionality. Available in styles ranging from under-mount and vessel to pedestal and wall-mounted, the options are vast.
Vanities often include storage, combining practicality with elegance. Consider your bathroom’s size and layout when choosing between compact pedestal sinks and expansive double vanities.
Toilets: From Standard to Smart
The humble toilet has undergone a significant transformation.
Traditional models with basic flushing systems now share the stage with smart toilets equipped with heated seats, bidet functions, and self-cleaning technology.
Dual-flush systems are another popular option, helping to reduce water usage without sacrificing performance.
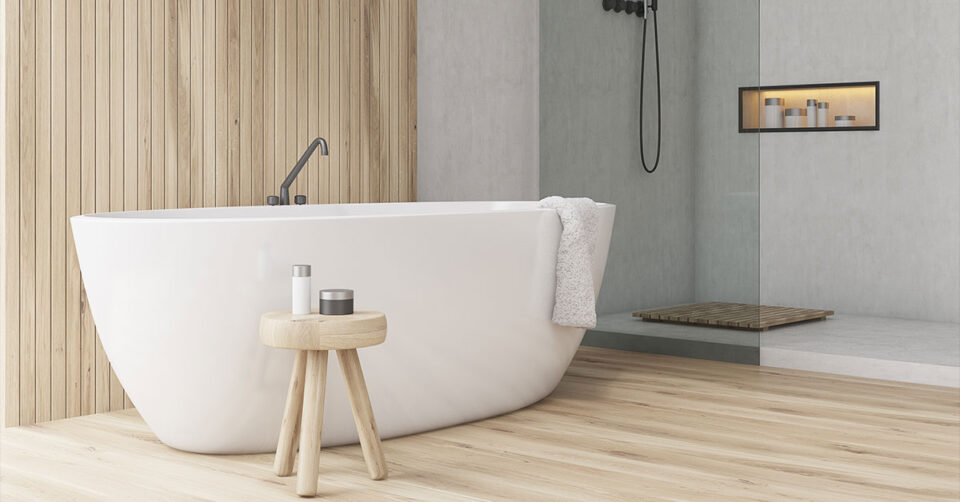
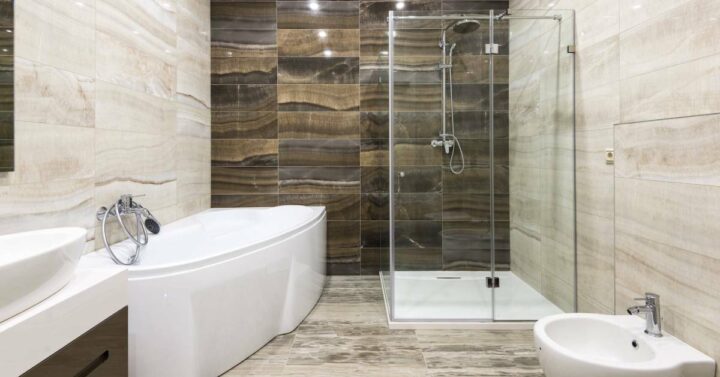
Bathtubs: Freestanding vs. Built-In
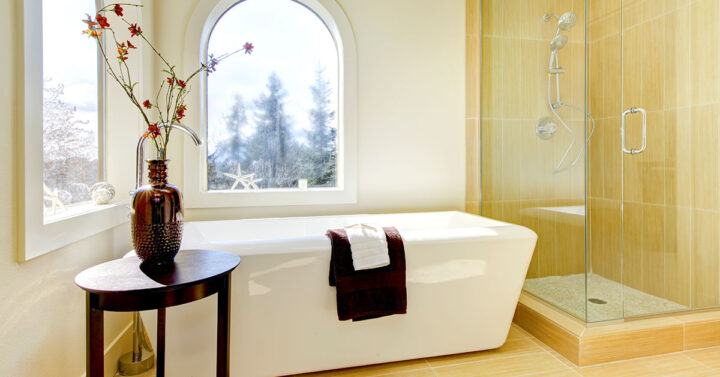
Bathtubs are the epitome of relaxation in a bathroom. Freestanding tubs, with their dramatic presence, are ideal for spacious bathrooms.
Built-in tubs, on the other hand, are space-saving and often include additional features like whirlpool jets. When choosing a tub, consider the material, depth, and overall comfort.
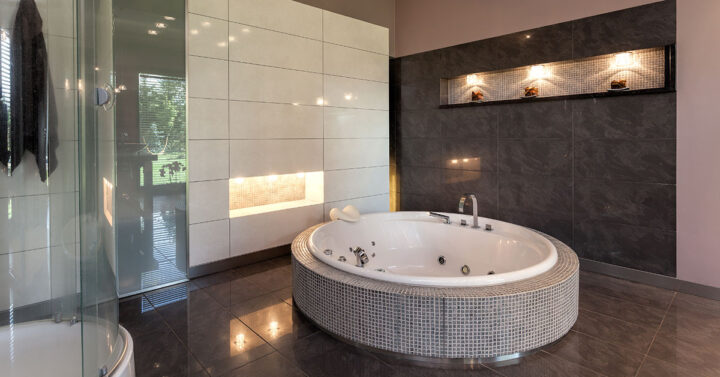
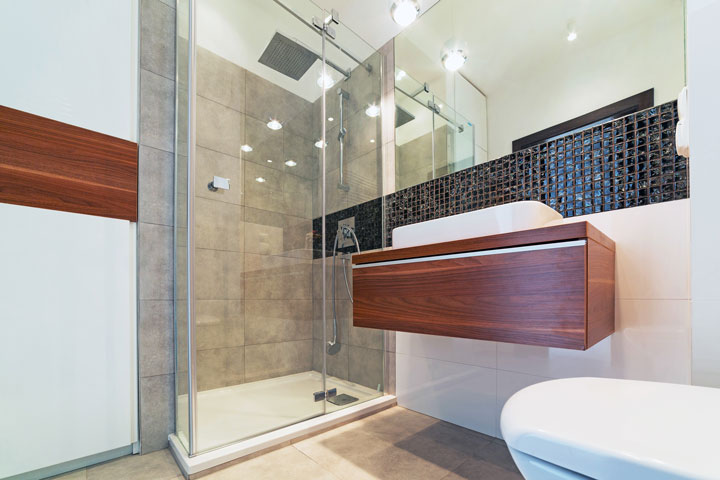
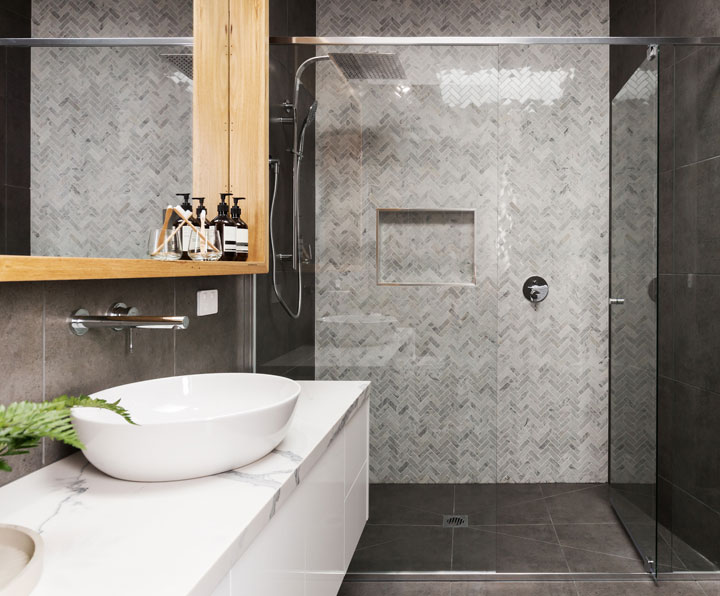
Showers: Traditional, Walk-In, and Custom
Showers come in various configurations, from traditional enclosed models to luxurious walk-in designs. Modern showers often include rain showerheads, body jets, and digital temperature controls.
For a truly tailored experience, custom showers allow for unique layouts and features, such as steam options or built-in seating.
How to Choose the Right Fixtures
Selecting the right bathroom fixtures requires balancing functionality, aesthetics, and budget. With so many options available, it’s important to prioritise your needs and preferences.
Considering Functionality and Aesthetics
Your fixtures should work seamlessly while also complementing your bathroom’s design.
A sleek, minimalistic sink might suit a modern bathroom, while a vintage clawfoot tub could be the highlight of a traditional space.
Consider how each fixture will be used and whether it aligns with your style goals.
Budgeting for Quality Fixtures
Quality doesn’t always mean breaking the bank, but cheap fixtures can lead to costly repairs or replacements.
Invest in reputable brands and materials that are built to last. Remember, spending a bit more upfront can save money in the long run.
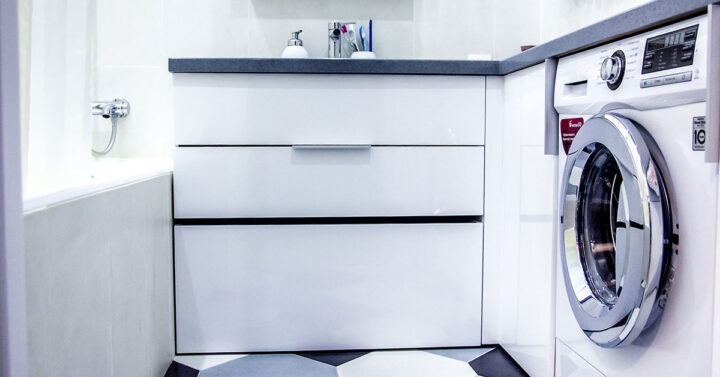
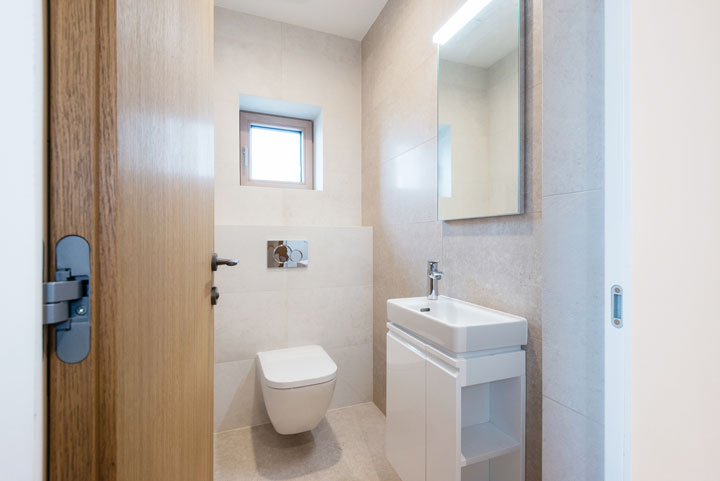
Space-Saving Solutions
For smaller bathrooms, consider compact fixtures like corner sinks or wall-mounted toilets. These options save valuable space while maintaining functionality.
Larger bathrooms can accommodate statement pieces like freestanding tubs or double vanities, creating a sense of luxury.
Materials and Finishes for Fixtures
The material and finish of your fixtures greatly impact their appearance and durability. Popular materials include ceramic, porcelain, stainless steel, and acrylic.
Finishes range from shiny chrome and polished nickel to brushed brass and matte black. Each finish has its charm, and the choice often comes down to personal preference and maintenance requirements.
For instance, chrome is timeless and easy to clean, while matte black adds a contemporary edge. Brass exudes warmth and elegance, perfect for vintage-inspired spaces.
Consider the overall design of your bathroom when selecting materials and finishes.
Trends in Bathroom Fixtures
Modern bathrooms are embracing technology and sustainability. Smart fixtures, such as touchless faucets and programmable showers, are gaining popularity.
Water-saving features like low-flow toilets and aerated taps are both eco-friendly and cost-effective.
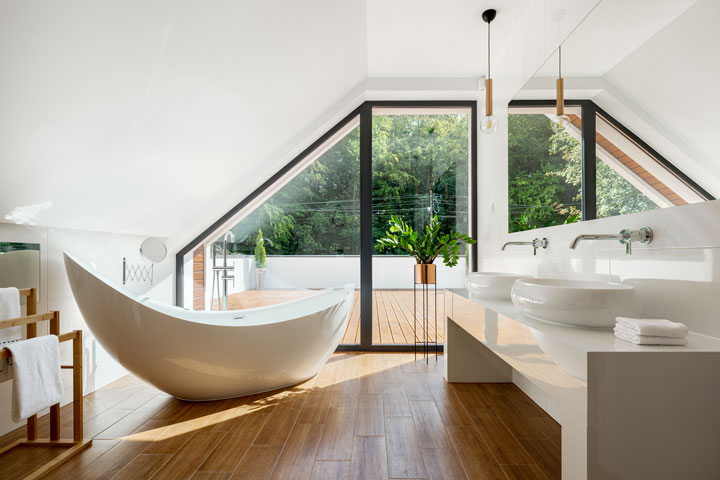
Design-wise, there’s a shift toward bold, statement pieces. Freestanding tubs in unique shapes and coloured sinks add personality to bathrooms.
Additionally, mixed metals are making waves, blending finishes like black and brass for a dynamic look.
Maintaining Your Fixtures for Longevity
Proper care can significantly extend the lifespan of your bathroom fixtures. Regular cleaning prevents buildup and keeps them looking their best.
Use non-abrasive cleaners and avoid harsh chemicals that can damage finishes.
Address small issues, like leaks or loose fittings, promptly to prevent bigger problems. Inspect seals and joints periodically to ensure everything is secure.
With a little attention, your fixtures can remain functional and attractive for years to come.