Tile grout might not be the first thing you think about when cleaning your bathroom, but it plays a critical role in keeping everything looking fresh and functional.
Whether you’re battling tough stains or just want your tiles to pop, this guide has everything you need to know about grout cleaning. Let’s dive in!
Introduction
Grout is like the unsung hero of your bathroom. It holds your tiles together, keeps water out, and adds a clean finish to your design.
However, when grout gets dirty, it can turn your bathroom from spa-like to grimy in no time. The good news?
Cleaning grout isn’t rocket science. With the right tools and techniques, you can make it sparkle like new. Here’s how.
Why Keeping Grout Clean Is Essential
Keeping your grout clean is vital for both hygiene and aesthetics. Neglected grout can lead to serious problems, including mould and structural damage, making regular cleaning a must.
The Role of Grout in Your Bathroom
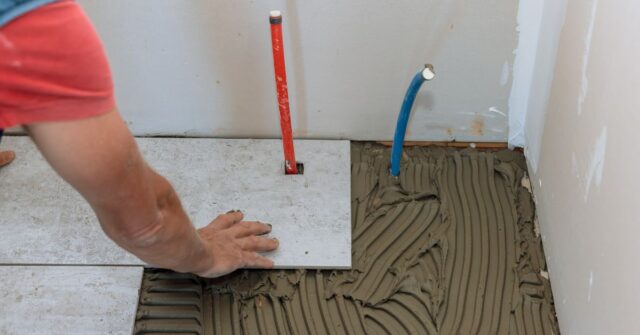
Grout fills the gaps between tiles, sealing them and keeping moisture at bay. Without grout, your tiles wouldn’t stay in place, and your walls or floors could suffer from water damage.
Beyond functionality, clean grout enhances the overall look of your bathroom, making it feel brighter and more inviting.
Common Problems Caused by Dirty Grout
Dirty grout isn’t just an eyesore. It can harbour mould, mildew, and bacteria, leading to unpleasant odours and potential health risks.
Stains and discolouration can also make even a pristine bathroom appear unkempt. Over time, neglected grout may weaken and crumble, requiring expensive repairs.
Tools and Supplies You’ll Need
Having the right tools and supplies is half the battle when it comes to effective grout cleaning. Let’s look at what you’ll need.
Essential Cleaning Tools
To clean grout effectively, you’ll need a few basics:
- A stiff-bristled brush or an old toothbrush
- Microfiber cloths
- Spray bottle
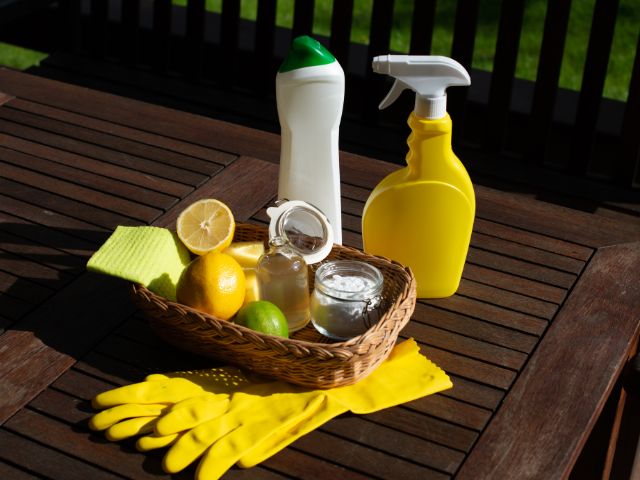
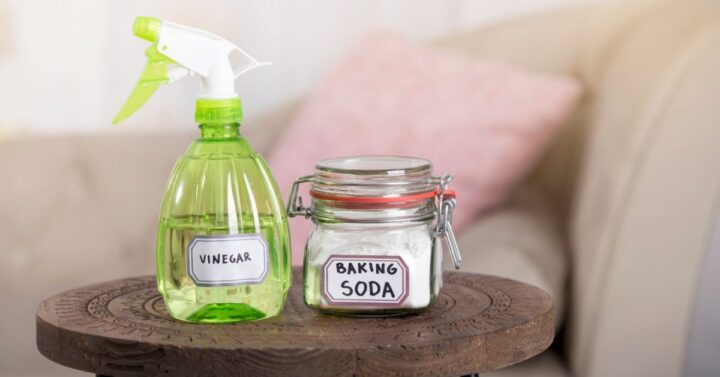
Natural Cleaning Solutions
If you prefer eco-friendly options, common household items can do wonders for grout cleaning:
- Baking soda and vinegar for a bubbling deep-clean
- Lemon juice for natural whitening
Commercial Grout Cleaning Products
For heavy-duty cleaning, commercial grout cleaners are a great choice. Look for products labelled safe for grout and tiles. Always test on a small, inconspicuous area before use.
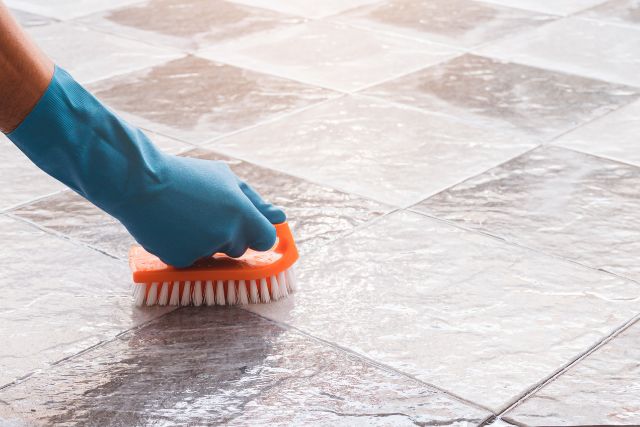
Specialised Tools for Tough Grime
For the toughest stains, consider tools like a grout scrubber attachment for your drill or a steam cleaner. These can save you time and elbow grease.
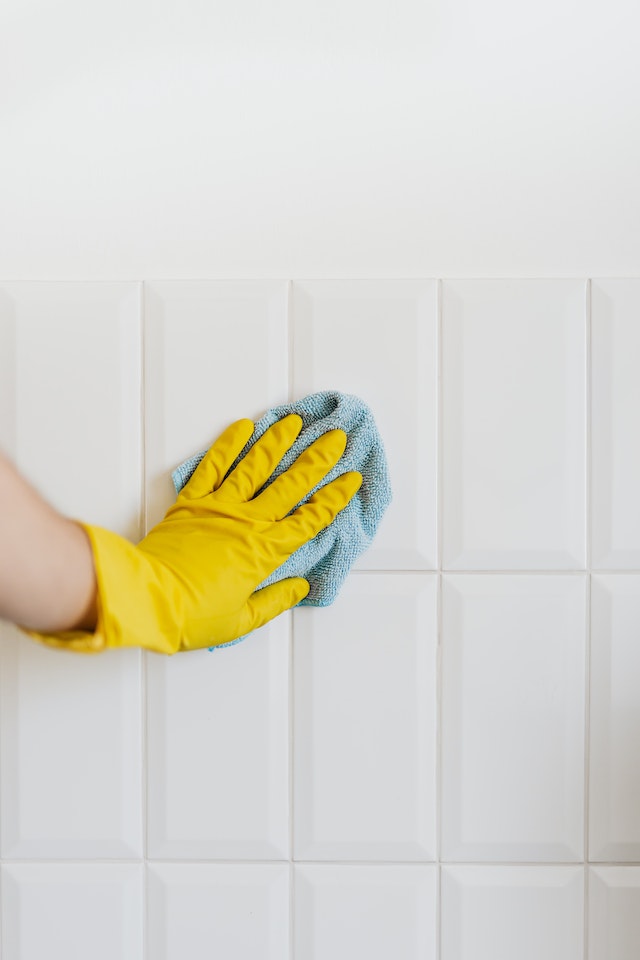
Step-By-Step Guide to Cleaning Tile Grout
Cleaning grout doesn’t have to be complicated. Follow these steps to get your grout looking like new.
Preparing Your Bathroom for Cleaning
Start by clearing the area of personal items and sweeping or vacuuming to remove loose debris. This will prevent dirt from spreading during the cleaning process.
Using Natural Cleaning Methods
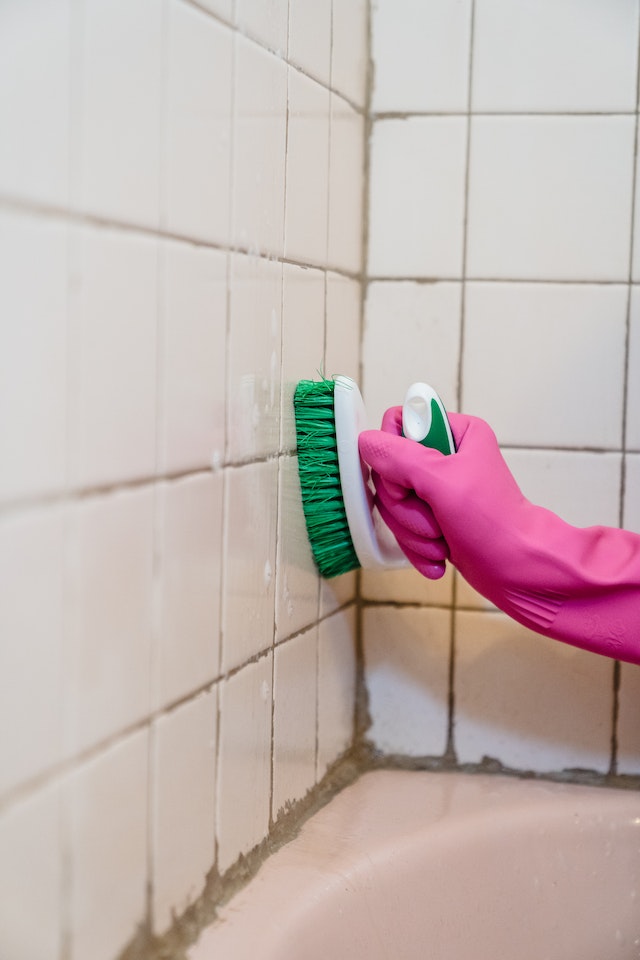
Mix baking soda with water to form a paste and apply it to the grout lines. Spray vinegar over the paste and let it fizz for a few minutes. Scrub gently with your brush, then wipe clean with a damp cloth.
Cleaning With Commercial Products
Follow the instructions on your chosen cleaner. Typically, you’ll apply the product, let it sit for a few minutes, then scrub and rinse. Be cautious not to let harsh chemicals sit too long on the tiles.
How to Use a Steam Cleaner Safely
Steam cleaners are excellent for killing bacteria and lifting grime. Hold the steamer nozzle close to the grout lines and move slowly. Wipe away loosened dirt with a microfiber cloth.
Tackling Stubborn Stains and Mold
For mould, use a solution of hydrogen peroxide and water. Apply it to the grout, let it sit for ten minutes, then scrub and rinse. Repeat as needed for deep stains.
How to Prevent Grout Discoloration and Stains
Prevention is the best cure. Here’s how you can keep grout looking fresh for longer.
Sealing Grout for Long-Term Protection
Sealing grout after cleaning creates a barrier against dirt and moisture. Apply grout sealer every six months for best results.
Daily and Weekly Maintenance Tips
Keep grout clean by wiping down tiles after showers and addressing spills immediately. A weekly scrub with a mild cleaner can prevent buildup.
Preventing Mold and Mildew Growth
Ensure proper ventilation in your bathroom. Use exhaust fans or open windows to reduce humidity, and dry surfaces promptly after use.
Common Mistakes to Avoid When Cleaning Grout
Grout cleaning is straightforward, but there are a few pitfalls to avoid to get the best results.
Over-Scrubbing or Using Abrasive Tools
Aggressive scrubbing can damage grout, making it more porous and prone to staining. Stick to soft brushes and gentle pressure.
Using Harsh Chemicals That Can Damage Grout
Bleach and acidic cleaners can erode grout over time. Always choose grout-safe products.
Neglecting to Rinse and Dry After Cleaning
Failing to rinse away residue can leave a cloudy film on tiles, while trapped moisture can lead to mould growth. Rinse and dry thoroughly after cleaning.
Alternative Methods for Cleaning Grout
If traditional cleaning doesn’t work or you want to try something different, consider these alternatives.
DIY Homemade Solutions
Experiment with a mix of hydrogen peroxide, baking soda, and dish soap for a powerful DIY cleaner that tackles tough stains.
Professional Grout Cleaning Services
If DIY isn’t cutting it, consider hiring professionals who specialise in grout cleaning and restoration. They can rejuvenate even the most neglected grout.
When to Replace Grout Instead of Cleaning
If grout is crumbling, discoloured beyond repair, or has persistent mould issues, replacement might be the best solution. Consult a professional for advice.
FAQs About Cleaning Tile Grout
Got questions? Here are answers to some common grout-cleaning queries.

How Often Should You Clean Tile Grout?
A thorough cleaning every three to six months is ideal, with light maintenance in between.
Can You Clean Grout Without Chemicals?
Absolutely. Natural solutions like baking soda, vinegar, and steam cleaning are effective and eco-friendly.
What’s the Best Way to Clean Colored Grout?
Use pH-neutral cleaners to preserve the grout’s colour. Avoid acidic or bleach-based products that could cause fading.
Conclusion
Grout cleaning doesn’t have to be a daunting task. With the right approach and a little elbow grease, you can keep your bathroom looking pristine.
Regular maintenance, proper tools, and smart techniques are all you need to win the battle against dirty grout. Happy cleaning!