Replacing a kitchen sink tap may sound like a daunting task, but with the right tools, guidance, and a little elbow grease, it’s a job most homeowners can tackle themselves.
In this guide, we’ll walk you through the entire process, step-by-step, to help you swap out your old tap for a shiny new one.
Whether you’re upgrading for style or fixing a leaky faucet, this guide has you covered.
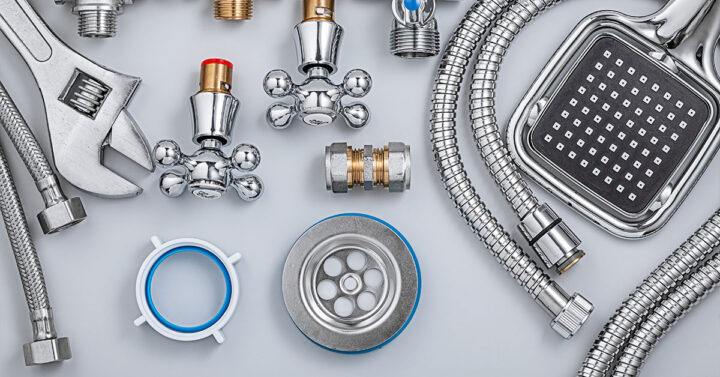
Tools and Materials Needed
Having the right tools and materials on hand is essential for a smooth tap replacement process.
This section outlines everything you’ll need to get started, from the basics to extras that can make the job even easier.
Essential Tools for Replacing a Kitchen Tap
To get started, you’ll need some basic tools that are likely already in your toolbox. Here’s a list:
- Adjustable wrench
- Screwdrivers (Phillips and flathead)
- Pliers
- Basin wrench
- Bucket or towel (to catch water drips)
Optional Tools for Enhanced Efficiency
If you want to make the job even easier, consider these optional tools:
- Headlamp for better visibility under the sink
- Tape measure to confirm faucet dimensions
- Silicone sealant for a waterproof finish
Materials and Replacement Parts
You’ll also need the following materials:
- Your new tap or faucet
- Flexible water supply lines (if not included with the tap)
- Plumber’s tape (Teflon tape) to prevent leaks
Preparation Before Starting
Proper preparation can save you time and frustration. Before diving into the replacement process, there are a few important steps to take to set yourself up for success.
Turning Off the Water Supply
The first step in replacing a kitchen tap is to turn off the water supply. Locate the valves under the sink and twist them clockwise until tight.
If your sink doesn’t have shutoff valves, you’ll need to turn off the main water supply for your home.
Clearing the Area Under the Sink
Next, clear out the space beneath your sink. Remove any cleaning supplies, bins, or other items. Trust us – you don’t want to work in a cramped space with clutter in your way.
Ensuring Proper Lighting and Accessibility
It’s no fun fumbling in the dark. Use a flashlight or headlamp to illuminate the area. If possible, position a small stool or mat to make crouching more comfortable.
Understanding Kitchen Tap Types
Not all kitchen taps are created equal. Understanding the different types available can help you choose the best replacement for your needs and style.

Single-Handle Vs. Double-Handle Faucets
Single-handle taps offer simplicity and easy temperature control with one lever, while double-handle taps provide separate controls for hot and cold water.
Consider your preferences before purchasing a new tap.
Pull-Down and Pull-Out Taps
Pull-down and pull-out taps are great for added flexibility. They let you direct water exactly where you need it, whether washing dishes or filling large pots.
Wall-Mounted Vs. Deck-Mounted Faucets
Wall-mounted taps attach to the wall, freeing up countertop space. Deck-mounted taps are installed directly onto the sink or counter, a more common setup in most homes.
Australian Plumbing Standards to Keep in Mind
Ensure your new tap complies with Australian WaterMark certification standards. This guarantees that the tap meets safety and water efficiency requirements.
Step-by-Step Guide to Replacing a Kitchen Sink Tap
Replacing a kitchen sink tap involves several stages. Here’s a detailed, step-by-step guide to help you through the process.
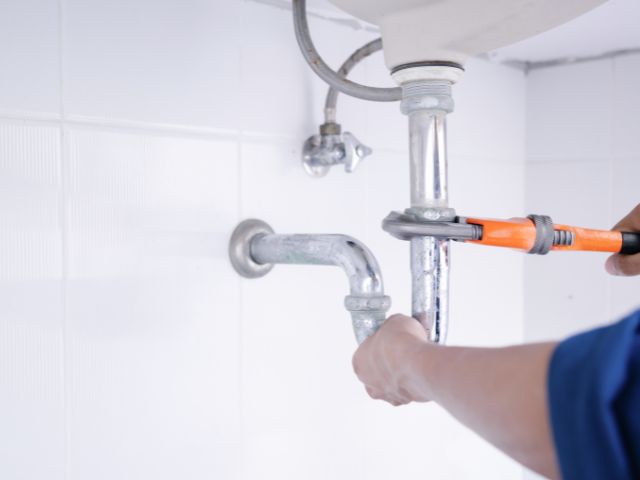
Removing the Old Tap
Before installing your new tap, you’ll need to remove the old one. This involves disconnecting the water supply and detaching the old tap from the sink.
Disconnecting Water Supply Lines
Using your adjustable wrench, loosen and disconnect the water supply lines from the tap. Place a bucket underneath to catch any remaining water.
Loosening and Removing Mounting Nuts
With a basin wrench, unscrew the mounting nuts holding the tap in place. Be patient – these can be stubborn, especially if they’ve been there a while.
Extracting the Old Tap
Once the nuts are off, lift the old tap straight up. You might need to wiggle it a bit if it’s stuck due to mineral buildup.
Preparing the Sink for the New Tap
Before installing your new tap, it’s important to prepare the sink area to ensure a secure and leak-free fit.

Cleaning the Mounting Area
Use a damp cloth to clean any debris or residue around the mounting holes. This ensures a snug fit for your new tap.
Inspecting for Damage or Wear
Check the sink’s surface and fittings for cracks or wear. Addressing these now can save you headaches later.
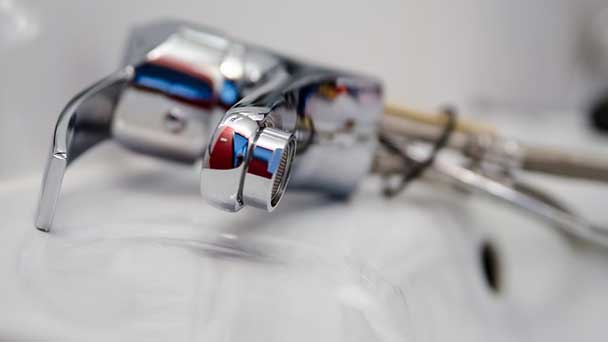
Installing the New Tap
With the old tap removed and the sink prepared, it’s time to install your new tap. Follow these steps for a successful installation.
Positioning and Securing the New Tap
Insert the new tap into the mounting holes. Align it properly before tightening the mounting nuts beneath the sink.
Connecting Water Supply Lines
Reattach the water supply lines to the new tap, applying plumber’s tape to the threads to prevent leaks.
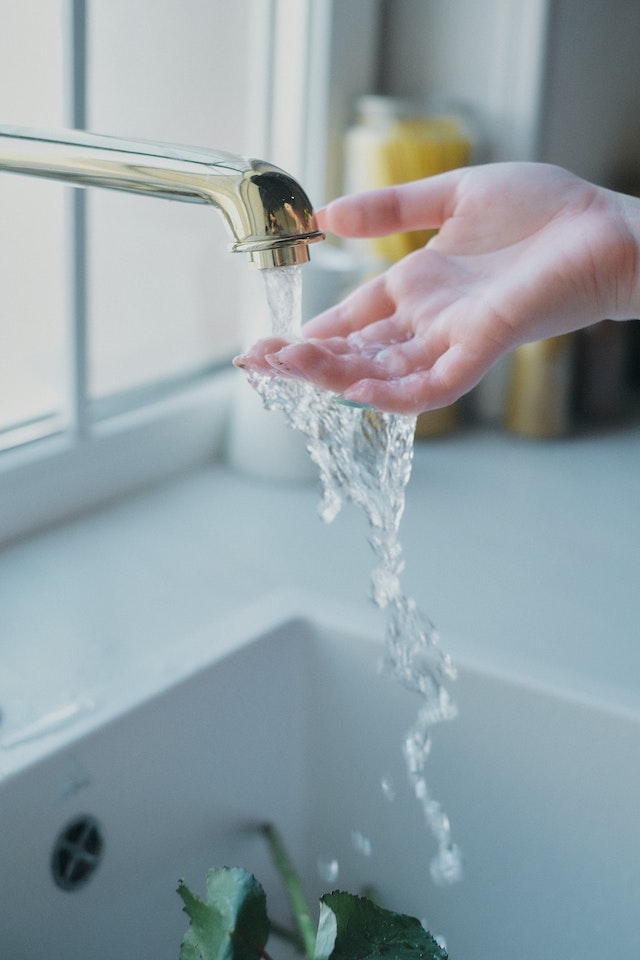
Testing the Installation
Turn the water supply back on and test the tap. Check for leaks and tighten connections if necessary.
Common Issues and Troubleshooting
Encountering problems during or after installation is common. This section addresses frequent issues and how to resolve them effectively.
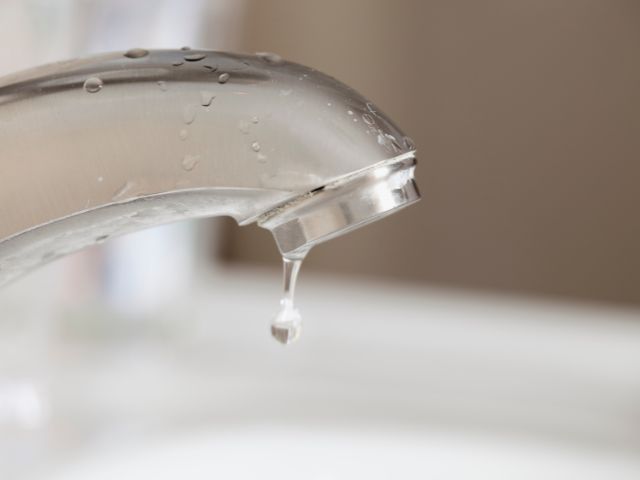
Dealing With Leaks After Installation
Leaks are often caused by loose connections or missing plumber’s tape. Double-check these areas to resolve the issue.
Addressing Loose Connections
If the tap wobbles, tighten the mounting nuts under the sink. You may need to hold the tap steady from above as you do this.
Fixing Low Water Pressure
Low pressure could indicate a clogged aerator. Unscrew the aerator, clean it with vinegar, and reattach it.
When to Call a Professional
Sometimes, tackling the job yourself may not be the best option. Here’s when it’s better to seek professional assistance.
Situations That May Require Expert Help
If you encounter damaged plumbing or can’t disconnect old fittings, it’s wise to call a licensed plumber.
Advantages of Professional Installation
Professionals can ensure a seamless installation and address any underlying plumbing issues.
Cost Considerations
Understanding the costs involved in replacing a kitchen sink tap can help you budget effectively. Here’s a breakdown of DIY and professional expenses.

Average Costs of DIY Installation
DIY replacement typically costs $50–$200, depending on the tap and tools required.
Cost of Hiring a Professional in Australia
Professional installation can range from $150 to $300, providing peace of mind and time savings.
Potential Savings With DIY Installation
While DIY saves money, consider the time investment and risk of errors before deciding.
Tips for Choosing the Right Kitchen Tap
A new tap is an investment in both functionality and aesthetics. Use these tips to make the right choice.
Matching Your Tap to Your Sink and Kitchen Style
Choose a tap that complements your kitchen’s design and fits your sink size and layout.
Considering Features Like Water Efficiency
Opt for taps with high water efficiency ratings to save on bills and conserve water.
Recommended Australian Brands and Retailers
Look for taps from reputable brands like Caroma or Dorf, available at Bunnings or Reece Plumbing.
Maintaining Your Kitchen Tap for Longevity
Regular maintenance helps extend the life of your kitchen tap. Follow these tips to keep it in top shape.
Cleaning and Care Tips
Regularly clean your tap with mild soap and water to prevent mineral buildup and stains.
Preventing Common Issues
Check for leaks or loose fittings periodically to avoid major repairs down the road.
When to Consider Replacing a Tap
Replace your tap if it shows signs of rust, constant dripping, or difficulty turning handles.
FAQs About Replacing Kitchen Sink Taps
Got questions? Here are answers to some of the most common ones about kitchen tap replacement.
What Are the Most Common Tap Replacement Mistakes?
Common mistakes include overtightening fittings, forgetting the plumber’s tape, and not turning off the water supply.
Can I Replace a Tap Without Turning Off the Water?
Short answer: no. Attempting this will likely result in a flood.
How Long Does It Take to Replace a Kitchen Tap?
For most DIYers, the process takes about 1-2 hours, depending on experience and tools.
Conclusion
Replacing a kitchen sink tap doesn’t have to be a headache. With the right tools, a bit of preparation, and this guide, you’ll have a new tap installed in no time.
And if things don’t go as planned, there’s no shame in calling a pro. Happy plumbing!